Do you love your handwriting? Well, you can now convert your handwriting into a font that you can install on your computer and use in your documents. I did an experiment recently and loved it.
One of the many reasons for creating your own font could be that you might be the only one using it exclusively. Isn't that special? Another perfect reason for creating and using your own handwritten font is that you can use it for making personalized gifts, invitation cards, Christmas cards, digital graphics and more.
You may also like the following articles:
Let's walk through the process of converting your beautiful handwriting into an installable font for FREE. What you need is a printer, a marker, a scanner and of course paper for taking printouts.
Step #1: Print Template
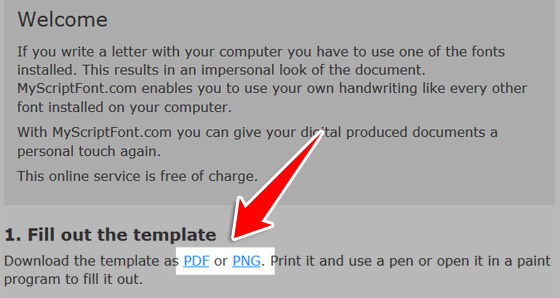
The first essential step is to download and print this template as PDF or PNG from myscriptfont.com and fill out all the little squares without touching the boundaries. Use a thick point pen like a marker instead of a ball point pen else result will not be as good.
Step #2: Scan the Filled Template
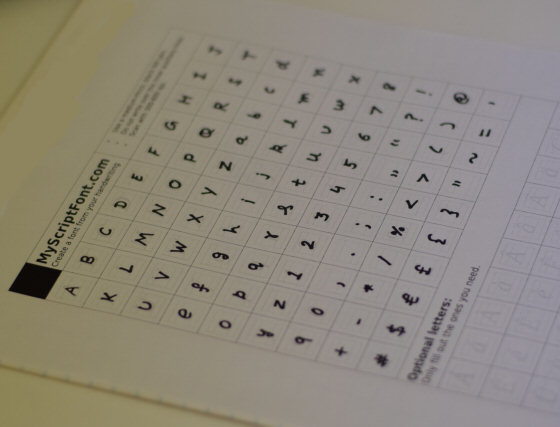
Next step is to scan the above filled template using a scanner at least 300 dpi resolution for better results. Unfortunately you cannot take a picture of it with your cell phone or digital camera bacause a clear, sharp cut and original size image is needed which can only be achieved using a flatbed scanner.
Step #3: Upload the Scanned Template - Convert to Font
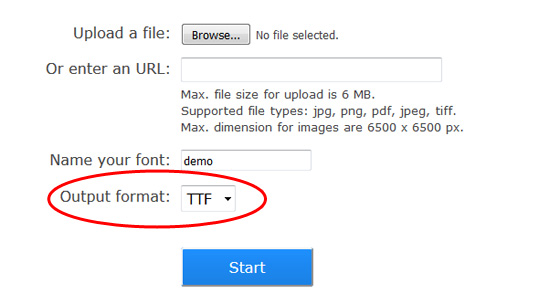
Once you have a clear scanned image from the above step, next you need to upload it to MyScriptFont.com to convert it into a font. If you are not sure about what format to choose from, go for TTF as it is widely accepted format.
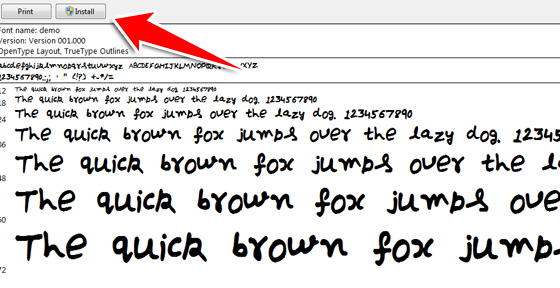
After the conversion is done, you will get the following similar result.
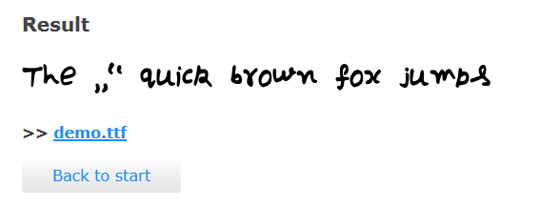
How is the result? If it looks good, proceed to download it by clicking on the .ttf (demo.ttf in this case) link. If it's not what you were expecting or have some kind of weird boxes, make sure you have printed the template in portrait mode instead of landscape.
Step #4: Install Your New Font
Now you have downloaded your new font on your computer. The next step is to install it so that it becomes available in all your applications that use fonts like Word Processor or Photoshop etc.
For Mac OS X:
In Mac OS X, open Font Book then File > Add Fonts (or command + O).
For more deatils and step by step procedure, check this out: How to Install a Font on Mac OS
For Windows:
In windows there are many ways to install fonts:
- Go to Start > Control Panel > Appearance and Personalization > Fonts. Then click File > Install New Font.
- Right click on the font (.ttf) file and click on 'Install'.
- Double click on the font (.ttf) file and in the preview window, click on 'Install' as shown in figure above.
For more deatils and step by step procedure, check this out: How to install or remove a font in Windows
More Services
There are more similar services you might be interested in:
- YourFonts.com - is an online font generator that allows you to create your own OpenType fonts within a couple of minutes. Go make your own handwriting as a font! Check this out for more details.
- PaintFont.com - is a free online service for the easy creation of calligraphy fonts.
- SigFonts.com - allows you to make your own font containing up to 16 signatures. This is a paid service.
Wrap Up
Hope you have learned how quickly and easily you can convert your handwriting into a font. Go ahead and give it a try and let us know how it comes out using the comments form below.