The sunburst backgrounds as the one shown below are often used in many graphic elements like in advertisement hoardings, game designs, splash screens, dialog boxes, poster designs and more.
In this tutorial we will learn how to create the famous retro sunburst effect (also known as rising sun effect) in photoshop CS2 using distortion filters. This is not a complicated one and will hardly take around 5 minutes from start to finish.
Final Result:
This is how the final result will look like. You can adjust the colors as per your choice.

Step #1:
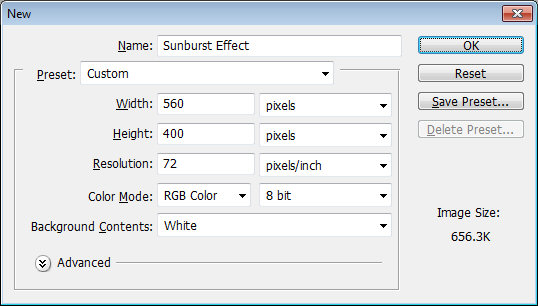
First create a blank document and set it's background to either white or transparent. You can choose the size accordingly but here I have set it to 560x400 at 72 dpi resolution.
Step #2:
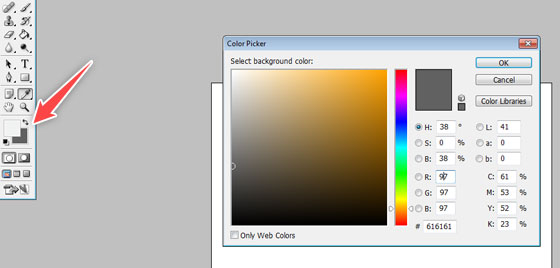
Now select the foreground and the background colors. For best practices try to choose the light color as the foreground color and dark color for the background. Here I have chosen light gray (#F3F3F3) as the foreground color and the dark gray (#646464) as the background. These will be the colors of sunburst strips later.
Step #3:
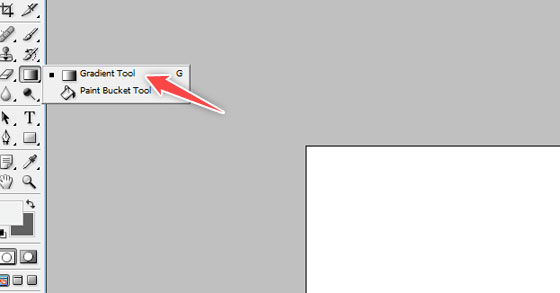
Now choose the gradient tool from the tools palette (press G as shortcut).
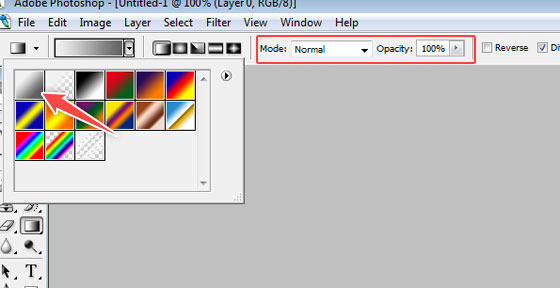
Make sure the blend type is chosen as a linear gradient, mode is normal and opacity is 100%.
Step #4:
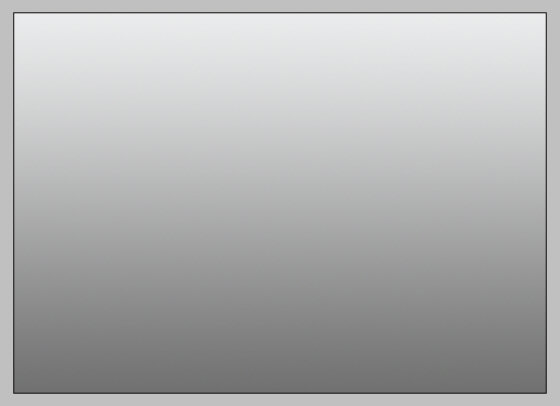
Now go to the document in the middle on upper side, press the shift key (to get a perfectly straight line) and the left mouse button and drag to the lower side. Now release the mouse button and the shift key. Make sure you have crossed the whole document.
The result will be as shown in the picture below with the document filled with a linear gradient.
Step #5:
Now go to Filter -> Distort -> Wave. Set the value as shown in figure below.
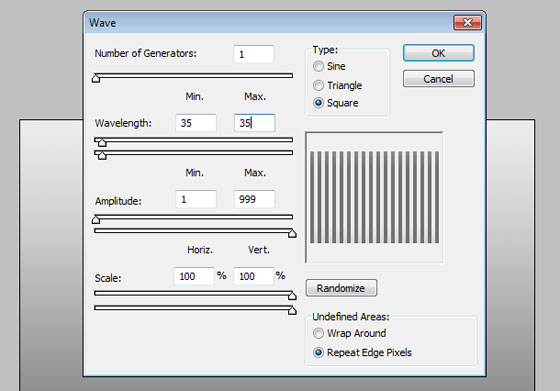
Press OK. Now the result will be as following.
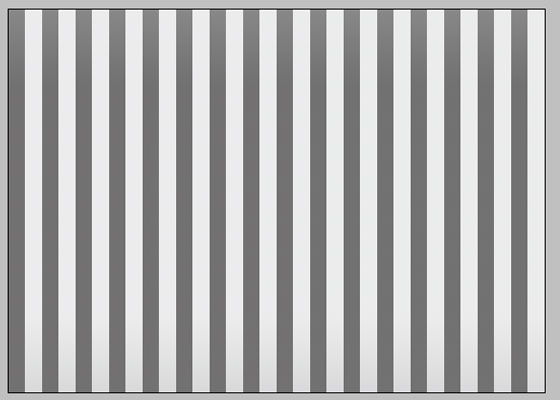
You can adjust the thickness of the vertical bars by adjusting the value of wavelength, but remember to keep both values same for the uniform size of the bars. The lower values will make the strips thinner.
Step #6:
Now for converting this to sunburst shape, go to Filter -> Distort -> Polar Coordinates, select the option Rectangular to Polar and press OK.
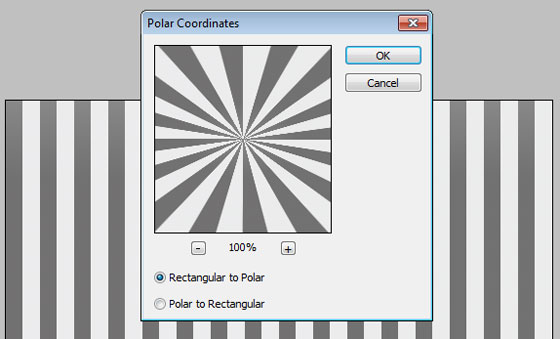
You will end up with the following similar results.
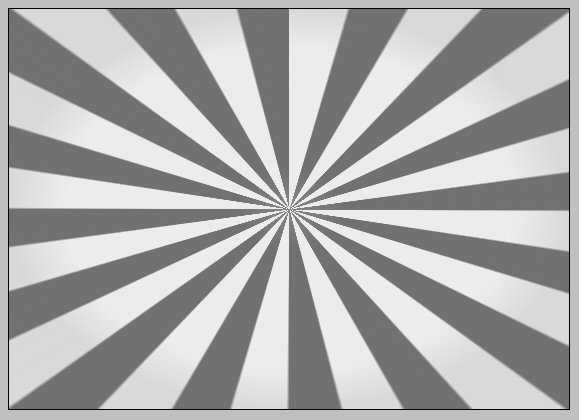
Step #7:
Now to colorize it, got to Image -> Adjustments -> Hue/Saturation and set the values as per your taste.
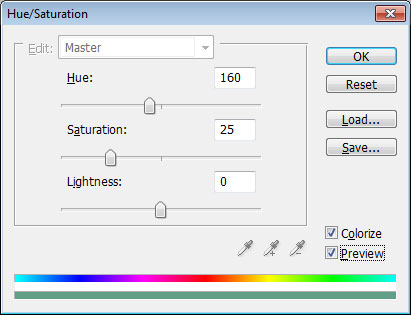
The above values will result in the following final image.
You can play around with different settings and differnt foreground and background colors too. Hope you will find this tutorial useful. Comments are welcome for any suggestions and feedback.